Monday, November 20, 2023

Siding, Electricians and Plumbers – Oh My!

Note to our email subscribers: To view this post on our website (recommended), click here.

For the last week and a half Rob and Hank have been busy installing the Hardie fiber cement shiplap siding. The siding is 5/8" thick, 10 1/4" wide and comes in 12 foot lengths. And it's heavy. Bear Skin joint flashing was installed behind each butt-joint and the joints caulked with goopy black stuff (it's a technical term). 

West side of house, vertical cedar siding goes to the right and top of the Hardie siding.
At the corners the siding is mitered and caulked. After installation the corners are sanded smooth for a finished look. Underneath the siding at the corners and where the siding changes from Hardie shiplap to vertical cedar they install formed stainless steel flashing.

Northwest corner of the house and behind the garage. You can see the flashing peeking out at the bottom corner.
To the left HVAC runs come out of the house at the garage floor level to the HVAC pad below.

Northeast corner of the house, the deck off the den is covered both inside and out with Hardie shiplap.

East side of the house. At the corner to the left you can see the stainless flashing used at the corners.
But what about the front of the house? The first floor by the front door and across Scott's den will be clad in Hardie shiplap. They are awaiting the concrete contractor who will pour the front walk and garage apron. Then Rob and Hank will install the Hardie shiplap in front.

Meanwhile inside...contractors continue to poke holes in all the framing. First thing, the electricians put a big hole in the west side of the garage wall for the electric service. Inside they mounted the electric service box and a full system shutoff, required when the electrical panel is not right behind the electric service box. From the shutoff a large conduit runs across the garage to the electrical box, more central for running wires and to the solar stuff (another technical term).


From there, the electricians set about placing all the outlet, switch and junction boxes according to the EMP plan. There were lots of questions and decisions to be made along the way. 


One of the changes was the location of the low voltage box. Originally planned in the garage, the electricians felt it would be better more centrally located in the house (less material and labor). Ultimately it ended up in the future cabinet in the laundry room. You can also see the cool in-wall dryer vent box and plumbing rough-ins in these photos.


While the electricians were doing their thing, the plumbers were roughing in the sewer and vent pipes. Several pipes had to move in-process as the electricians and plumbers collided in wall space. The kitchen sink vent pipe was originally right under the window and had to be moved down to accommodate electrical outlets.


Extra data and outlets had to be placed in the northeast corner for our T-Mobile 5G internet...it was the best spot in the house. So many wires!


In the kitchen, plumbing complete, electrical still has to run a low voltage line from the make up air unit (in the box in the corner), to the vent hood. Once the wiring is in place the HVAC guy will come back and install the make up air unit (and hopefully the fireplace!). Side note, the vent hood draws 750 cfm, so apparently it needs its own on-demand air unit so we don't suffocate.


Three-gang switch boxes inside the primary bedroom and also just outside the door. So many wires.

Primary bedroom wall with bedside switches, lighting and data under the bed. IDK...

Primary bath electrical and plumbing roughed-in at the vanity

Primary bath shower roughed-in


We have tub in the bathroom downstairs and the utility sink and hot water heater connections are roughed-in at the northwest corner of the garage.


So many holes in the framing! So many wires! Did you know that the wires are color-coded by gage and number of wires in the casing?

The electrical box, not yet wired, but very busy


Meanwhile on the exterior of the house, the electrical service box has been inspected by the county and approved. Next, someone from Pacific Power will schedule the meter install. Just in time for the solar guys to start crawling all over the house!

Tuesday, November 14, 2023

Electrical, Mechanical & Plumbing...Plan vs. Reality

Note to our email subscribers: To view this post on our website (recommended), click here.

It's hard to convey the sheer amount of electrical, plumbing and mechanical infrastructure there is in the house. It's a "special" house. Perhaps showing you the EMP plans will help (hint: click on photos to view them larger.)

First floor EMP plan

Second floor EMP plan

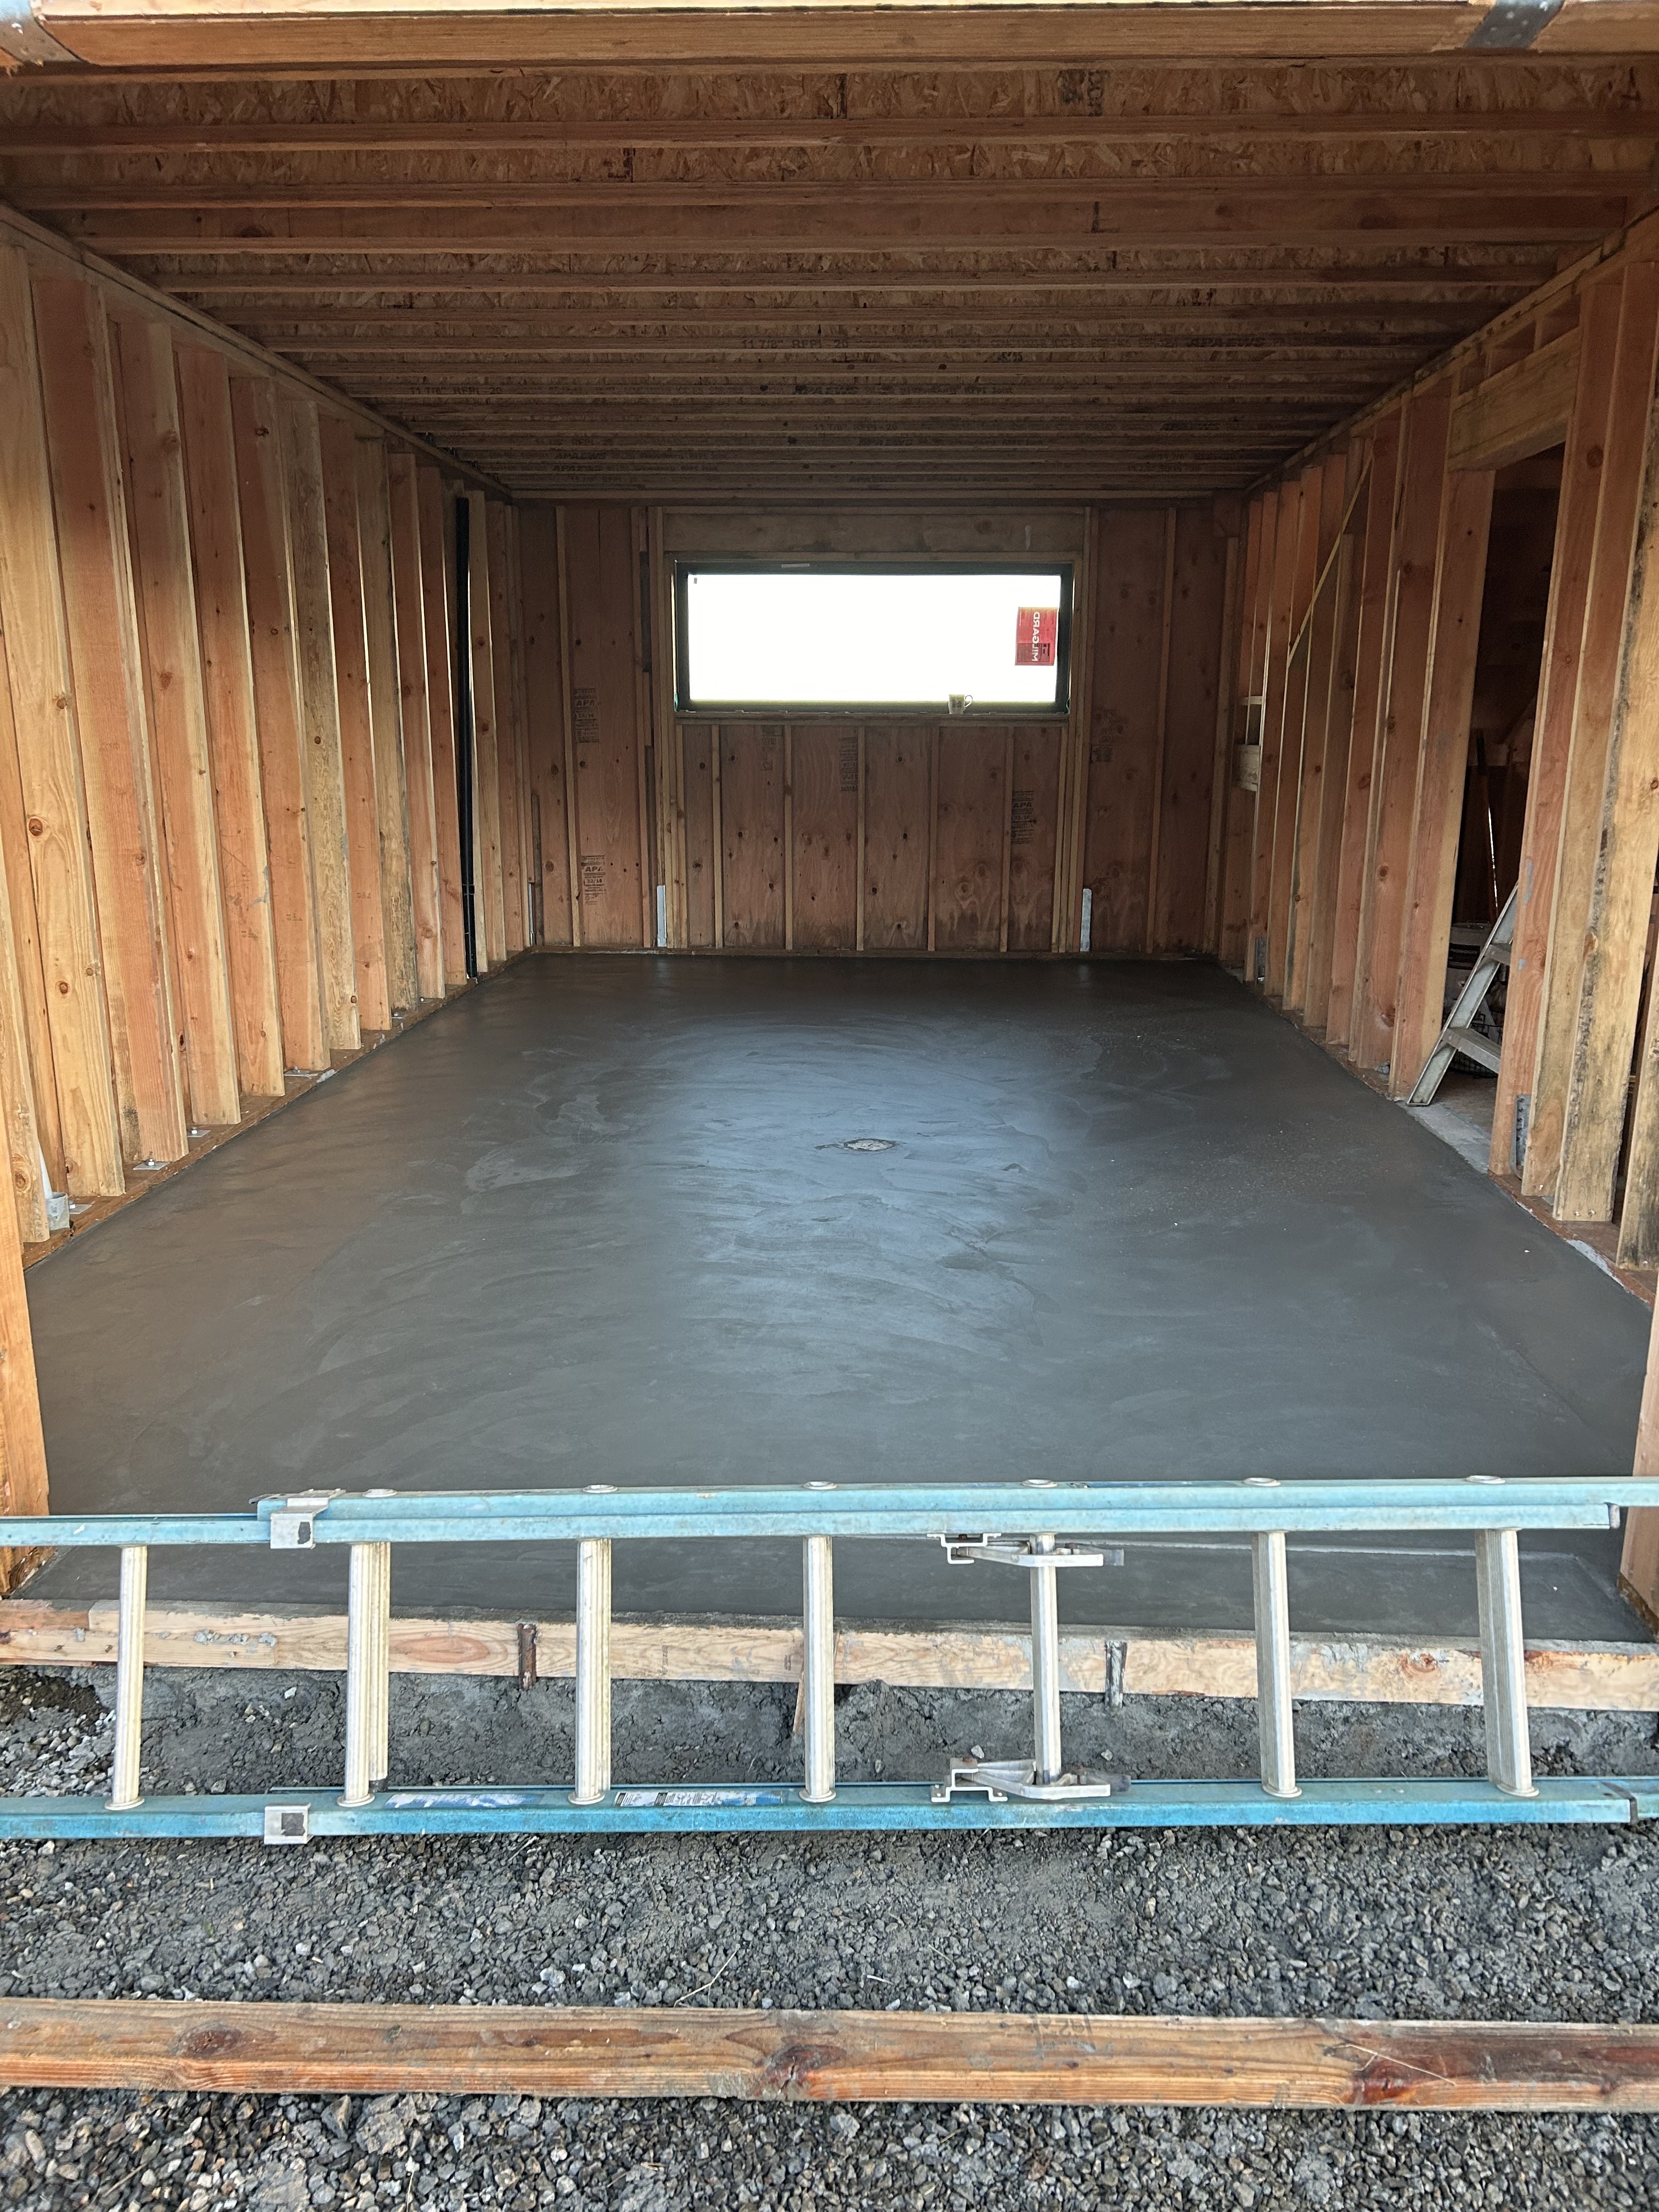
There's a lot going on here. And even given all the thought that went into the plan, we had to make changes on the fly with the contractors. In many cases ceiling fixtures had to move a few inches because their planned locations were right in the middle of ceiling trusses. In other locations, outlets were moved to accommodate stud locations. In some cases, the electricians brought up things that hadn't been considered in the plan.

And, in the case of the low voltage panel (where all the networking stuff is) we had to move it from its planned location in the garage because wiring it there would have been impractical. Ultimately, we placed it inside the Pax wardrobe cabinet in the laundry area. Lots of small decisions like this were made. I have been on site every morning for the last week to answer questions and make decisions in order to keep the electricians moving. I loved this part of the process, being intimately involved in what the house was going to be.

And then this happened...


That, is the plan for the solar panels on the roof. We wanted to understand what our eventual cost for adding solar would be. We engaged a solar contractor our architect had used on his property. Stan, the Solar Man, encouraged us to add solar as soon as practical. With the house still being "open" it was easier (and less expensive) to wire for it. We could also start net metering back to the power company even before the house was complete. We were going to do it someday, so why not now?


The roof on the house is metal standing-seam, which makes attaching solar panels to the roof much easier. In fact, there will only be one penetration into the roof from the solar panels going down to the electrical panel (or the inverter, I'm not exactly clear on that yet.)


Our engineering friends will geek out on the diagram above. It appears that, yes, the wiring from the solar panels goes to the inverter and then to the 11KW battery before going to the panel and then net metering to Pacific Power. 

Did you know that if you have solar power and the local electrical grid goes out because a seagull pooped on a transformer that you will lose power to the house along with your neighbors? I didn't. Apparently it's a fail safe so the trusty power company workers don't get zapped because you are still pumping power into the wires. Unless, you have a battery backup. Then, when the power goes out, the solar system feeds the battery instead of sending power into the power wires to sizzle the really nice power guys. Fail safe.


There are a ridiculous number of labels that are required to be applied to specific pieces of equipment, the inspectors actually look for each one of these labels and more (there's another page I didn't include here.) 

All in all, the electricians took the addition of solar completely in stride and worked with Stan, the Solar Man, to make sure everything is in place. Honestly the electricians are great. Flexible and a pleasure to work with. Thank you, Bogh Electric, a family business!

Sunday, November 12, 2023

Weathered-In

Note to our email subscribers: To view this post on our website (recommended), click here.

It's been a busy couple of weeks! Most of the windows and doors are in – Whoohoo! And just in time because we had some pretty wild storms.

Living room sliding doors with transom windows above and our "bonus" window to the right facing east

Kitchen windows facing south and window to the left facing east to the Astoria column

Door to the first floor deck in the laundry room

In addition, the house has been wrapped with HydroGap Drainable Housewrap which has small blue beads of plastic that allow air and moisture to pass behind the siding. You can read more about the product here.


HydroGap Drainable Housewrap

And the fireplace in the living room is starting to take shape! We purchased a Homer Bucket to put under the open chimney hole to try and mitigate some of the rain getting into the house, but it didn't work very well. Brian had a better idea, he put the bucket upside down over the flue housing on the roof.

Brian and Hank working on the fireplace

And then the subcontractors started showing up. What I didn't realize (I should have, but never thought about it) was that subcontractors were all going to poke holes in our newly framed, sheathed and weathered-in house! The first to arrive was Ron from Dugan's Heating Solutions, ready to rough in the heat pump/mini-split system. 

Roughed-in HVAC lines for the mini-split unit. They couldn't go through the
framing here because just underneath this wall is a really big steel beam!

HVAC lines going through all our ceiling trusses to get to the mini-split location at the living room wall

Ron also installed the fans in the bathrooms and the vent for the dryer. Apparently it's now code in Oregon to have the dryer vent in a housing in the wall, not looped around behind the dryer. Our dryer vent goes down into the crawlspace and then out through the foundation wall in the back, instead of up and out to the deck wall, Brian's idea - smart! 

Next up, more sub-contractors...

Saturday, November 4, 2023

Concrete Tales – Muckity Work

Note to our email subscribers: To view this post on our website (recommended), click here.

The design for the garage floor is a bit unusual. What you normally see in a garage is a pitch from the back of the garage to the front, draining to the driveway. Sometimes there is a drain at the front of the garage where it meets the driveway. 

In our "special" house, we have a drain in the middle of the garage floor that goes to the sump in the crawlspace. Brian placed a metal trim a foot from the walls at the sides of the garage and three feet from the back of the garage. The area outside the trim is level and inside the trim the floor pitches to the center drain.

Thursday morning Alex and crew were onsite, promptly at 9 am pouring concrete in the garage. It's sloppy work. They first poured concrete outside of the metal rim and then inside. The control freak in me wanted to point out imperfections in the finish every step of the way, but Alex and his crew are pros, moving concrete around in a pre-finish state.


Once they had the angles to the drain correct they cut an apron into the front of the garage floor for the garage door.

They also poured the base for the firewood storage between the garage and the front door.

...And the pad for the heat pump unit for the heating and cooling unit behind the garage.

The garage floor, blocked by a ladder to prevent any accidental steps onto the new concrete...No initials here!


The garage floor has since been pre-treated and treated to prevent staining and covered with stain resistant paper to keep it pristine. After a few days they laid plywood over the surface to prevent nicks and gouges in our new garage floor.

Before they install the front door, sidelight and Scott's office window, Brian wants to have the entry sidewalk poured. Alex wants to consolidate trips, so they will likely pour the walkway pads through the front courtyard and the area for garbage and recycling to the west of the driveway at the same time. Timing tbd, but maybe next week if we get good weather.